Showing posts with label bright colours. Show all posts

Sunday, 28 April 2013

Pastel Squared

Hey guys!
I swear I'm going to run out of names for these tribal inspired posts...please comment any suggestions - all are welcome ;)

Anywho, these are the nails I wore on the first part of my summer holiday. I used a peel of base coat so I wouldn't need to lug acetone as well as other stuff in my suitcase. It lasted a surprisingly long time, considering it's made to come of easily...


These were done using my Face of Australia pastels again, and I love the way they looked. Clean and simple.

What I used:
Aside from the FoA pastels, I used
ulta3 'blue heaven', 'eighties fuchsia', 'banana split', 'lily white'
essence 'wake up!', 'viva la green', 'black is back'

Thanks for dropping in!
xNai

Monday, 22 April 2013

That girl is on fire

Hello again!
So apparently I'm like the worst blogger known to mankind, what with all my unscheduled leaves of absence - life kind of takes over periodically, and my scheduled posts only last so long!
My apologies, dear readers.

Anywho!

Thursday, 4 April 2013

Aztec Love

Hey guys.

Today I have for you another foray into the Face of Australia pastels I bought a while back. This time I wanted them to be a little bit more punchy, and so did this tribal design with them.


It's quite simple, but really a striking look. What do you think? Something you'd recreate?


What I used:
ulta3 'lily white'
essence 'black is back'
Face of Australia 'boys 'n' berries', 'after dinner mint' and 'easy peasy lemon squeezy'

Thanks for dropping in,
xNai

Sunday, 31 March 2013

Set fire to the fingers

Hey guys!

Today I have for you the glory and, for some, lemming that is Max Factor's Fantasy Fire!
If you're unaware of FF, it's a multichrome purple shimmer jelly that, like all multichromes, has a glorious range of colour shift which changes depending on the undies you wear it with.

Here I decided to try it over Revlon 'Bubble' as everyone knows what it looks like over a navy or royal blue (like Revlon 'Royal').
For this mani I used one coat of 'Bubble' and 3 very thin coats of FF.
Direct, diffused (cloudy) natural light
I love the effect of FF over this hot pink, I think it makes for a nice punchy, girly mani.

Indirect, diffused, natural light
Artificial light
In these three pics, you can really see the bright fiery orange, from whence comes FF's name I would imagine.
In the next two, you can see some of the gorgeous green, almost turquoise, shift.

Indirect, diffused, natural light
What do you think of Max Factor's Fantasy Fire? Is it a lemming of yours, or just a bit overrated?

Thanks for stopping by!
xNai

Saturday, 16 March 2013

Ziggy's Gift

Hey guys!
Today I've got some chevrons and gradients for you, on Danya's nails. Maybe one day you'll even get to see these girls' faces! 
All the rage at the moment, and so I decided to give it a bash, and put my own twist to it.


These are really bright in real life, with the blues positively popping off the nails.
I used more colours in the chevrons than in the ombré, to get the same fading effect. In future, I would probably use a different colour than 'Fly' for the second to last row, as it's a bit too green.


What I used:
(In order from darkest to lightest)
mode 'tatt-tastic'
essence 'walk on air'
Sinful Colors 'why not'
OPI 'Fly'
China Glaze 'For Audrey'
essence 'you belong to me'

As always, thanks for stopping by!
xNai

Saturday, 9 March 2013

The Forest of Tribes

Well hello there!
Today I have some fantastic green gradient, and fun tribal on top.

Let's start with the gradient itself

Green Gradient
For this, I used Essie 'Mojito Madness' and 'Navigate Her'. These look beautiful together.

Then, using Revlon 'Emerald' I drew some fine tribal detailing on the top, and after a day or two, I mattified them using Rimmel mattifying top coat.
Gloss Green Tribal Left
Gloss Green Tribal Right
Mattified Green Tribal

There's a tute for this design as well if you'd like to see it. It's a fairly straightforward design, but let me know in the comments if you'd like the step by step instructions.

Thanks for stopping by,
xNai

Wednesday, 6 March 2013

With ya head in the clouds

Hey guys!

Today we have some simple clouds.
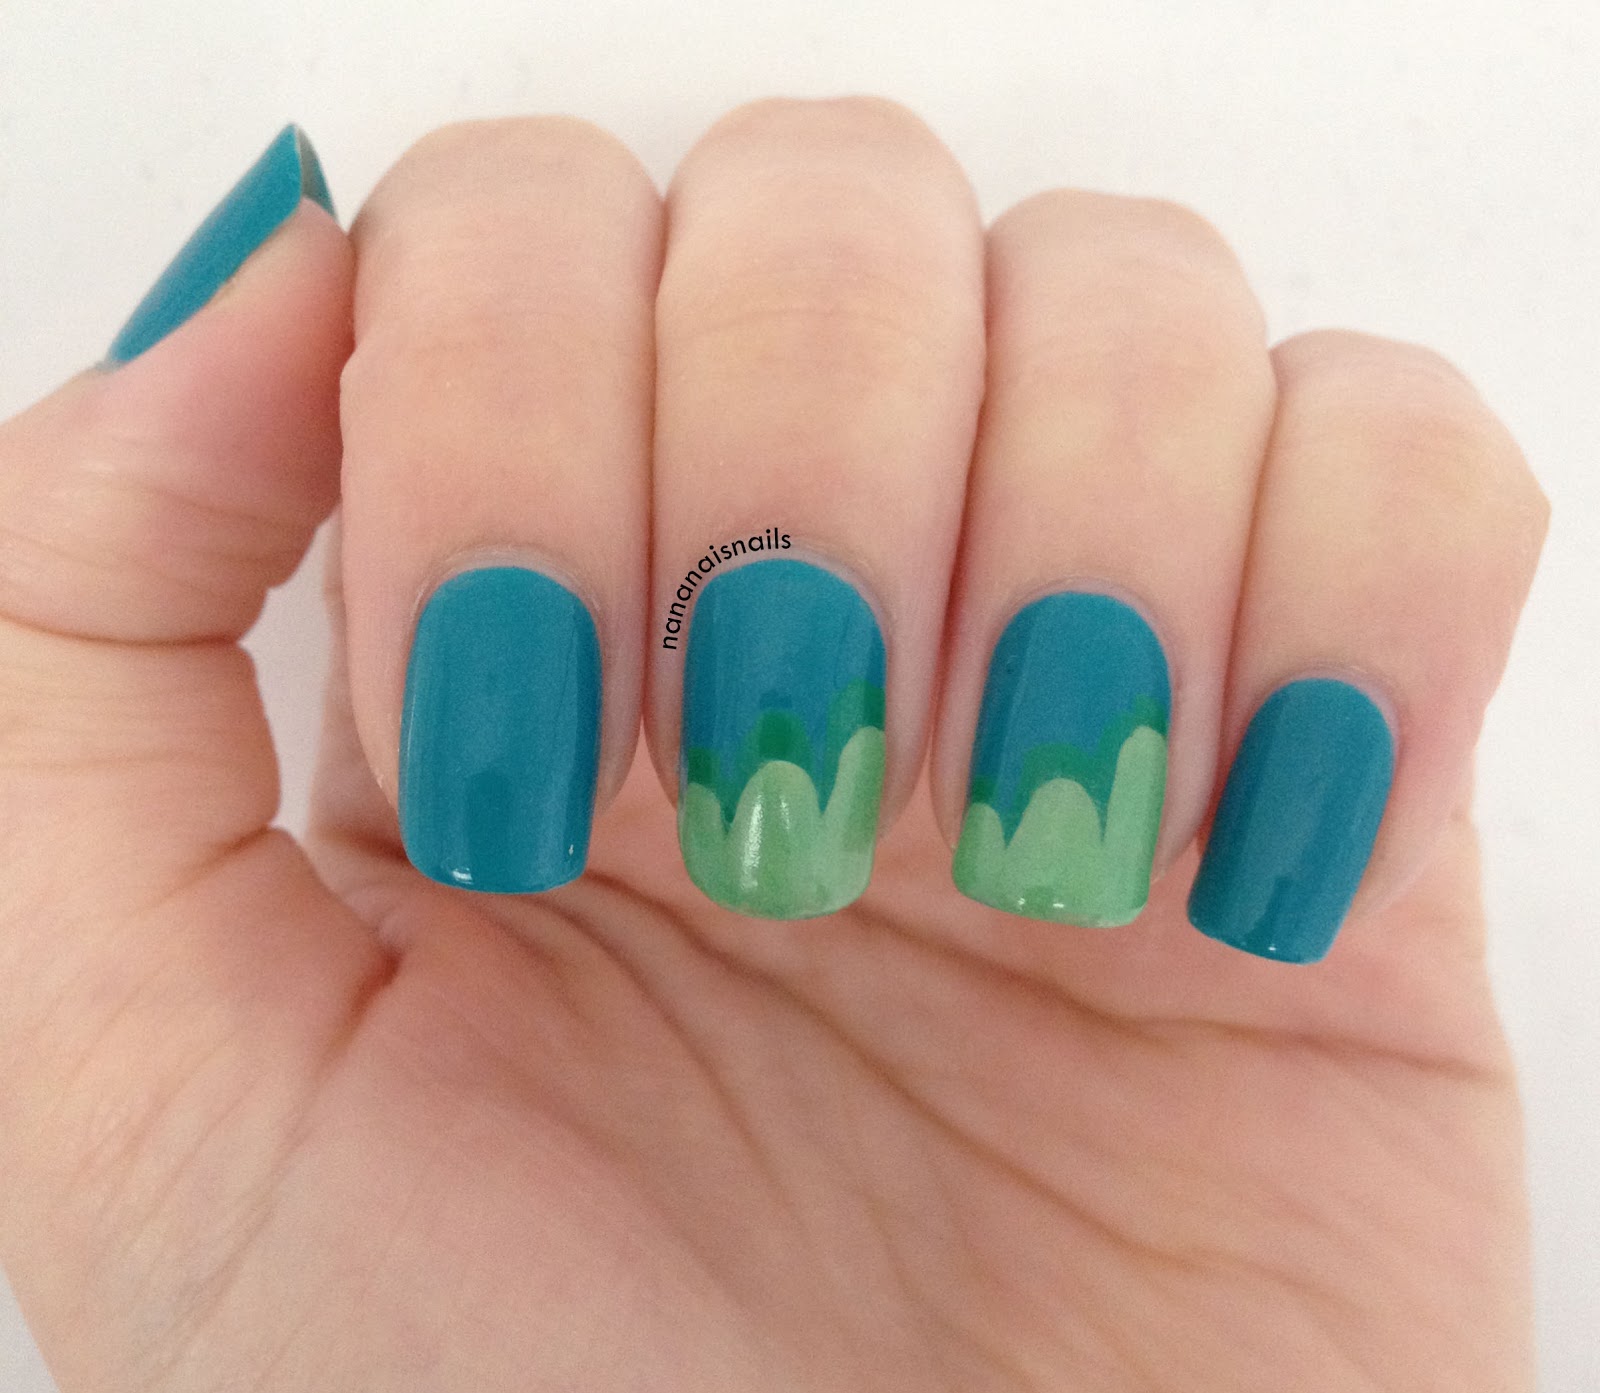
I had just received OPI 'Fly' and wanted to try it out. I love this blue, and think it works nicely with my skin tone, but didn't want to leave it too plain, and here we are!


The green at the tips is actually a glow in the dark polish, which sadly I couldn't get a decent image of, but had a lot of fun with in bed :)


What I used:
OPI 'Fly', and 'Zom-Body to Love' from the 2011 Halloween collex
An unnamed L.A. Colors green

Thanks for stopping by!
xNai


Thursday, 21 February 2013

Passionfruit fields forever

Hello again!

Today I have for you my first attempt at watermarbling. 
Now don't laugh at this first picture, I was trying different combinations of colours, to see which ones might spread well enough to let me create designs.


I started from the thumb, and landed on a decent combination on the pinky.
I then proceeded to marble my left hand, and this is what it looks like!


This is Revlon 'Cotton Candy' and 'Passionfruit'
You can see on the index finger, that the flower is a little smudged.
I'm pretty sure it happened because I didn't clean the top of the water properly before pulling my finger out, and got some of the wet polish on the design.
Such a shame!


Very proud of these babies, they were my first successful watermarble!

Thanks for stopping by,
xNai

Tuesday, 29 January 2013

Double Dutch

Hello again DarlingHearts.

Today we have some more ombré, but with a twist!


I was inspired to do these by a graphic design @mpnails posted on Instagram (note: don't open the link if feet creep you out..), and just had to work it out.


To achieve this look, I did the background gradient first, and once that was completely dry with the aid of a top coat, I taped off the triangles, and did that gradient.

Love the way these look, and how completely vibrant they are! I chose contrasting colours to really add an element of oomph.

What I used:
Revlon 'Rock' and 'Siren'
Essence 'A Lovely Secret' and 'Raspberry Swirl'


Thanks for stopping by!
xNai

Friday, 25 January 2013

Red solo cup


Hello again!
Today’s nails were a challenge for me.
My friend, Sally, was going to an American ‘Frat’ themed party, and was dressing up as a cop. I discussed these with my brother, and he suggested college nails, so we came up with these!
They required some research, and I had to find some that weren’t identical – you wouldn’t believe how many of these colleges have the same colours, or similar logos!
My apologies for the dodginess of the pics, and the angles – been trying to teach Sally the way to pose hands…we’ll get there…:)

L-R: Yale, Princeton, MIT, Dartmouth, Harvard, NYU
Believe it or not, the fishtails on the pinkies were the most difficult part of this mani! They take ages, and the polish you use have to be one-coaters, otherwise it takes even longer.

L-R: Dartmouth, Harvard, NYU
L-R: Yale, Princeton, MIT
Then for the thumbs, we did some US flags, with glitter placement.

What do you think? Did I miss an obvious college with a different colour scheme?

As always, thanks for stopping by!
xNai

Tuesday, 22 January 2013

Fading into the greenness


Hello there lovelies!
So firstly, I’d like to apologise for my unscheduled leave of absence, life got in the way a bit recently, and I haven’t found the time to schedule posts for you!
Anyway, I’m here now, and we’re back to business as usual.

Today we have some funky green gradients.

These nails were inspired by someone on Instagram (can’t remember who right now, will edit if I find the original), and in turn, inspired my This is Halloween Challenge – Skeleton nails.


I personally think the accent nail looks best – maybe because the dots blend in better with the tip? Don’t know.
What are your thoughts?

What I used:
Revlon ‘Jaded’ and ‘Emerald’

Thanks for stopping by!
xNai

Wednesday, 26 December 2012

I'm nekkid!

Hello darling hearts!

Today we have some nude and neons.
I had been seeing the nude and neon combo a lot recently, as it has been summer in the northern hemisphere (thank god we're finally there ourselves - I hate winter. HATE), and this is a nice subtle way to do the neon trend.

And yes, I'm aware that wasn't the right shade of nude for my winter fingers, but I bought it cos I know when I'm tanned, that should be about spot on. In the mean time, I could dream...:)

Then for a competition, I decided to add on some glitter, like so:


I had to fish through multiple coloured glitters, just to find the necessary colours, and let me tell you, the blue and the pink? NOT an easy task!!

What I used:
essence 'nude it!', 'wake up!' 'let's get lost'
Revlon 'Bubble'
Sally Hansen 'Mellow Yellow'
China Glaze 'Electric Pineapple'

And for the glitters:
Blue - Milani Jewel FX 'Teal'
Gold - essence 'make it golden'
Orange and Green  - Lush Lacquer 'dipping dots' (buy it and others here. Do it. Trust me.)
Pink - Wet n Wild 'Party of Five Glitters'

For all the glitters I used the glitter placement technique - paint it onto some foil, then use a toothpick to pull the indiv glitters out. Then I tried to put as much back in the bottle as possible, as I didn't want to waste too much.


Thanks for stopping by!
xNai

Monday, 17 December 2012

Locks, knocks and dots.

Hello again, fancy meeting you here!

Today I have for you some interlocking dots.
I had been wanting to try out this technique for flipping ages, since I saw it originally a while ago, but just couldn't work it out! Then I came across @slacquerr's tutorial on IG, and it ALL MADE SENSE!!

Here is my version

You can't really see the distinction between the pink and orange on the middle finger, which is a shame, but oh well, you get the idea!

What I used:
essence 'let's get lost!', 'passion for fashion', 'wake up!'
Revlon 'Bubble'
Sally Hanson 'Mellow Yellow'

Thanks for stopping by!
xNai

Sunday, 9 December 2012

Laser Splotches

Hello!!
As promised, I have a tutorial for you here.

What you'll need:
At least 3 colours - they can be in the same family, as these are, or they can be highly contrasting,
it's just about your own taste
Black, White, base and top coats
Striping tape
Cosmetic sponge (stupidly not pictured...*facepalm*)
Clean up brushes, q-tips and acetone/remover


Paint your base coat, and then a coat (or two) of white.
I use white here, like I do everywhere, to really make the colours pop. You could use the lightest of your colours as a base colour (like in any gradient nails), but I like being able to blend the edges out nicely (keep reading to see what I mean).

Paint a corner of your sponge with the first colour you'd like to use...

...and dab it onto your nails in any random pattern, making sure to leave enough blank spots for your other colours.

Cut the corner off, and repeat steps 2&3 with the next colour.

Repeat step 4 with the next colour.

I didn't like that the pink covered so much of the purple at the bottom of the nail, so I went over it very lightly with the purple again to blend the edges together a little better.

Clean up the edges using the q-tips for larger areas on your skin, and a small brush for the area right next to the cuticle.

Leave your nails to dry completely (you can use a fast dry top coat here to speed the process, or like me, you can read a book for 10 mins), and then apply the striping tape in any way you like.
I prefer the randomness of the laser effect for a mani like this.

Next, one nail at a time, paint over the nail with your black (or any other one coater colour you'd like to use), and remembering the order in which you placed the tape initially, peel it off quickly but carefully.

You'll be left with this wonderful result, with patches of colour showing through.


Don't forget to top coat your design, to protect your work, and you're done!


This is what the finished effect of mine looked like.
I decided to do it just as an accent nail, mostly because I ran out of time, but also because I really love the ombré effects on the nails.


Please feel free to leave me a link to your attempt of this design, I would love to see them!

Hope this has been helpful,
xNai

Friday, 7 December 2012

Rorschach Fun

Hello there lovelies!

So today I have for you what I've been calling splotchy ombre stripes. Really awful name, I know, so please, if you can come up with something better, tell me!!

These I did for Orit, as she was going to Lady Gaga that night. The pink you can see is UV reactive polish, in case there were black lights, and I coated the whole thing in glow in the dark top coat, under the black, so the stripes would glow!

Orit loved them, and to show how rockin' she thought they were, she even did the following pose for my pics:

Then we went for coffee with some friends, and Ilana saw them, and decided she wanted them as well! Back to my house we went, and I did these on top of her purple shellac. I love Ilana's nails - such long beautiful nail beds! They make me so jealous...

What I used:
BYS 'Bright Purple N288', 'Blue N283' (both colour change polishes),
'02 UV Tension Rising' and their Glow in the Dark top coat.
OPI 'Black Onyx'


Lucky you, there's a tutorial for these babies!
I shall post it probably tomorrow, or the day after, sorry for the delay...:(

Hope you love these as much as I did!
xNai

Friday, 23 November 2012

Strippy Strappy Stripes

Hello there again lovelies.

Firstly, I just want to apologise for my absence recently. I had a lot of work I needed to do, and have finally finished! 
Thank you for sticking around, it really means so much.
Now I'm preparing for my summer holidays, gotta pack and sort my stuff out, etc. Super excited! But this also means that I'll be posting less in general. I'm gonna schedule a bunch of posts for while I'm away, but probably not as many as usual, cos who can be bothered sitting at the comp for HOURS editing and composing?! I'll do my best though.

Anywho, today I have for you a really arduous technique, but it looks so lovely when complete.

This is step one - horizontal gradients across all the nails. It goes pink-red-purple-blue-green-pink. 

I wanted to use yellow on the end there, but this was another entry into the 5 colour comp. I rather like the ring and pinky in the end anyway - the combo of lime and pink almost looks like a sunset.

After the difficulty of ombreing that much, we then had to clean up, and proceed onto the next step.
That's right - this isn't even the whole shebang!


 Ta daaa!!

I am SUCH a fan of these. I love how subdued they are (which suits Nicole to a T), while still being poppingly bright.


I wish I could tell you the colours I used, but alas, my memory fails me..:(
I know I used some essence, and the black is OPI Black Onyx, but beyond that, sorry!
Also, the striping tape is the same I've used previously - little rolls off ebay, super cheap.

Hope you enjoy these as much as I did making them.
Thanks for stopping by,
xNai

Friday, 2 November 2012

T-t-triangles

Hello again lovelies!
How was everyone's Halloween? Mine was pretty good, albeit not at all Halloweeny - I had a uni ball. Was lovely, and I wore orange and black to commemorate it, as the ball itself was (sadly) not themed!

So, back to our regularly scheduled programming, although I need to warn you - all my This Is Halloween Challenge manis were (obviously) done in the past month, meaning my techniques, photography, and posing are all much better than they used to be. But as we're going back to older manis, you're going to have to struggle through some bad photography and poses.
My sincerest apologies. ;)

Anyway!
Today I have for you what someone recently referred to as 'funnel' nails, due to the shape of the white, but I originally called them cut out triangles. So creative, I know!

Funnel Nails

I didn't use any tape or special brushes for these - just the ones in the bottles, and painted very carefully.
As you can see there are a few imperfections, but meh, they're so bright and eye-catching that you don't notice that stuff straight away.

Funnel Nails

I wish I could tell you which colours I used, but it was a while ago, and there are a LOT there!
I can tell you that the thumb nails are actually purple and coral, not blue and red as the pic insists. My camera sometimes (read: most of the time) hates purple.

As always, thanks for stopping by!
xNai