Showing posts with label freehand. Show all posts

Sunday, 28 April 2013

Pastel Squared

Hey guys!
I swear I'm going to run out of names for these tribal inspired posts...please comment any suggestions - all are welcome ;)

Anywho, these are the nails I wore on the first part of my summer holiday. I used a peel of base coat so I wouldn't need to lug acetone as well as other stuff in my suitcase. It lasted a surprisingly long time, considering it's made to come of easily...


These were done using my Face of Australia pastels again, and I love the way they looked. Clean and simple.

What I used:
Aside from the FoA pastels, I used
ulta3 'blue heaven', 'eighties fuchsia', 'banana split', 'lily white'
essence 'wake up!', 'viva la green', 'black is back'

Thanks for dropping in!
xNai

Thursday, 4 April 2013

Aztec Love

Hey guys.

Today I have for you another foray into the Face of Australia pastels I bought a while back. This time I wanted them to be a little bit more punchy, and so did this tribal design with them.


It's quite simple, but really a striking look. What do you think? Something you'd recreate?


What I used:
ulta3 'lily white'
essence 'black is back'
Face of Australia 'boys 'n' berries', 'after dinner mint' and 'easy peasy lemon squeezy'

Thanks for dropping in,
xNai

Wednesday, 27 March 2013

The bread of our affliction

Hey guys!

So from Monday night until next Tuesday night it's Passover, the Jewish festival celebrating our exodus from Egypt among many other significant things.
One of the main signifiers of the festival is Matzah - unleavened bread - that the Jews made in their rush to leave Egypt. Now, many millennia later, we must still suffer through this wonderful experience.

I decided, thanks to Jenny over at 10 Blank Canvases and her excellent tutorial, to do matzah nails this year, instead of the 10 plagues I did last year, and these are them!


Mine are not quite as delicate as Jenny's, as I didn't have the right colours, or enough time really - had to get cooking for the feasts!


And here is me actually holding some matzah for a comparison. I couldn't find a piece of Yehudah matzah at the time, which is more colour accurate to these nails, but hey, you get the idea!

Anywho, wishing you all a chag kasher ve sameach!
xNai

Tuesday, 19 March 2013

French is overrated...

Hello again my darlings!

Today I have a quick and dirty mani for you.
I did this one Saturday morning when I was in a bit of a rush to go out, and had naked nails.
Since I started this whole adventure into nail art, I've become known for it among my friends and peers, and I knew I couldn't go out with nothing on my nails, even if it was as simple as these.

I decided to go for a sort of French mani with this nude and blue gradient, which didn't work as nicely as hoped (note the ring and middle fingers).
This picture also alerted me to my terrible habit of not filing my ring finger to the same shape as all the others! What the?!


Then I gave up on that time consumingness, and just did an actual french tip on the other hand.
I didn't want the blue to actually be the size of my free edge, as I thought that might end up being too much, so I just did a very thin tip, as you can see.


Clearly my frenching skills are in dire need of some improvement! eek!

What I used:
essence 'nude it!'
ulta3 'blue bird'

Anywho,
Thanks for stopping by, you gorgeous thangs you!
xNai

Saturday, 16 March 2013

Ziggy's Gift

Hey guys!
Today I've got some chevrons and gradients for you, on Danya's nails. Maybe one day you'll even get to see these girls' faces! 
All the rage at the moment, and so I decided to give it a bash, and put my own twist to it.


These are really bright in real life, with the blues positively popping off the nails.
I used more colours in the chevrons than in the ombré, to get the same fading effect. In future, I would probably use a different colour than 'Fly' for the second to last row, as it's a bit too green.


What I used:
(In order from darkest to lightest)
mode 'tatt-tastic'
essence 'walk on air'
Sinful Colors 'why not'
OPI 'Fly'
China Glaze 'For Audrey'
essence 'you belong to me'

As always, thanks for stopping by!
xNai

Saturday, 9 March 2013

The Forest of Tribes

Well hello there!
Today I have some fantastic green gradient, and fun tribal on top.

Let's start with the gradient itself

Green Gradient
For this, I used Essie 'Mojito Madness' and 'Navigate Her'. These look beautiful together.

Then, using Revlon 'Emerald' I drew some fine tribal detailing on the top, and after a day or two, I mattified them using Rimmel mattifying top coat.
Gloss Green Tribal Left
Gloss Green Tribal Right
Mattified Green Tribal

There's a tute for this design as well if you'd like to see it. It's a fairly straightforward design, but let me know in the comments if you'd like the step by step instructions.

Thanks for stopping by,
xNai

Wednesday, 6 March 2013

With ya head in the clouds

Hey guys!

Today we have some simple clouds.
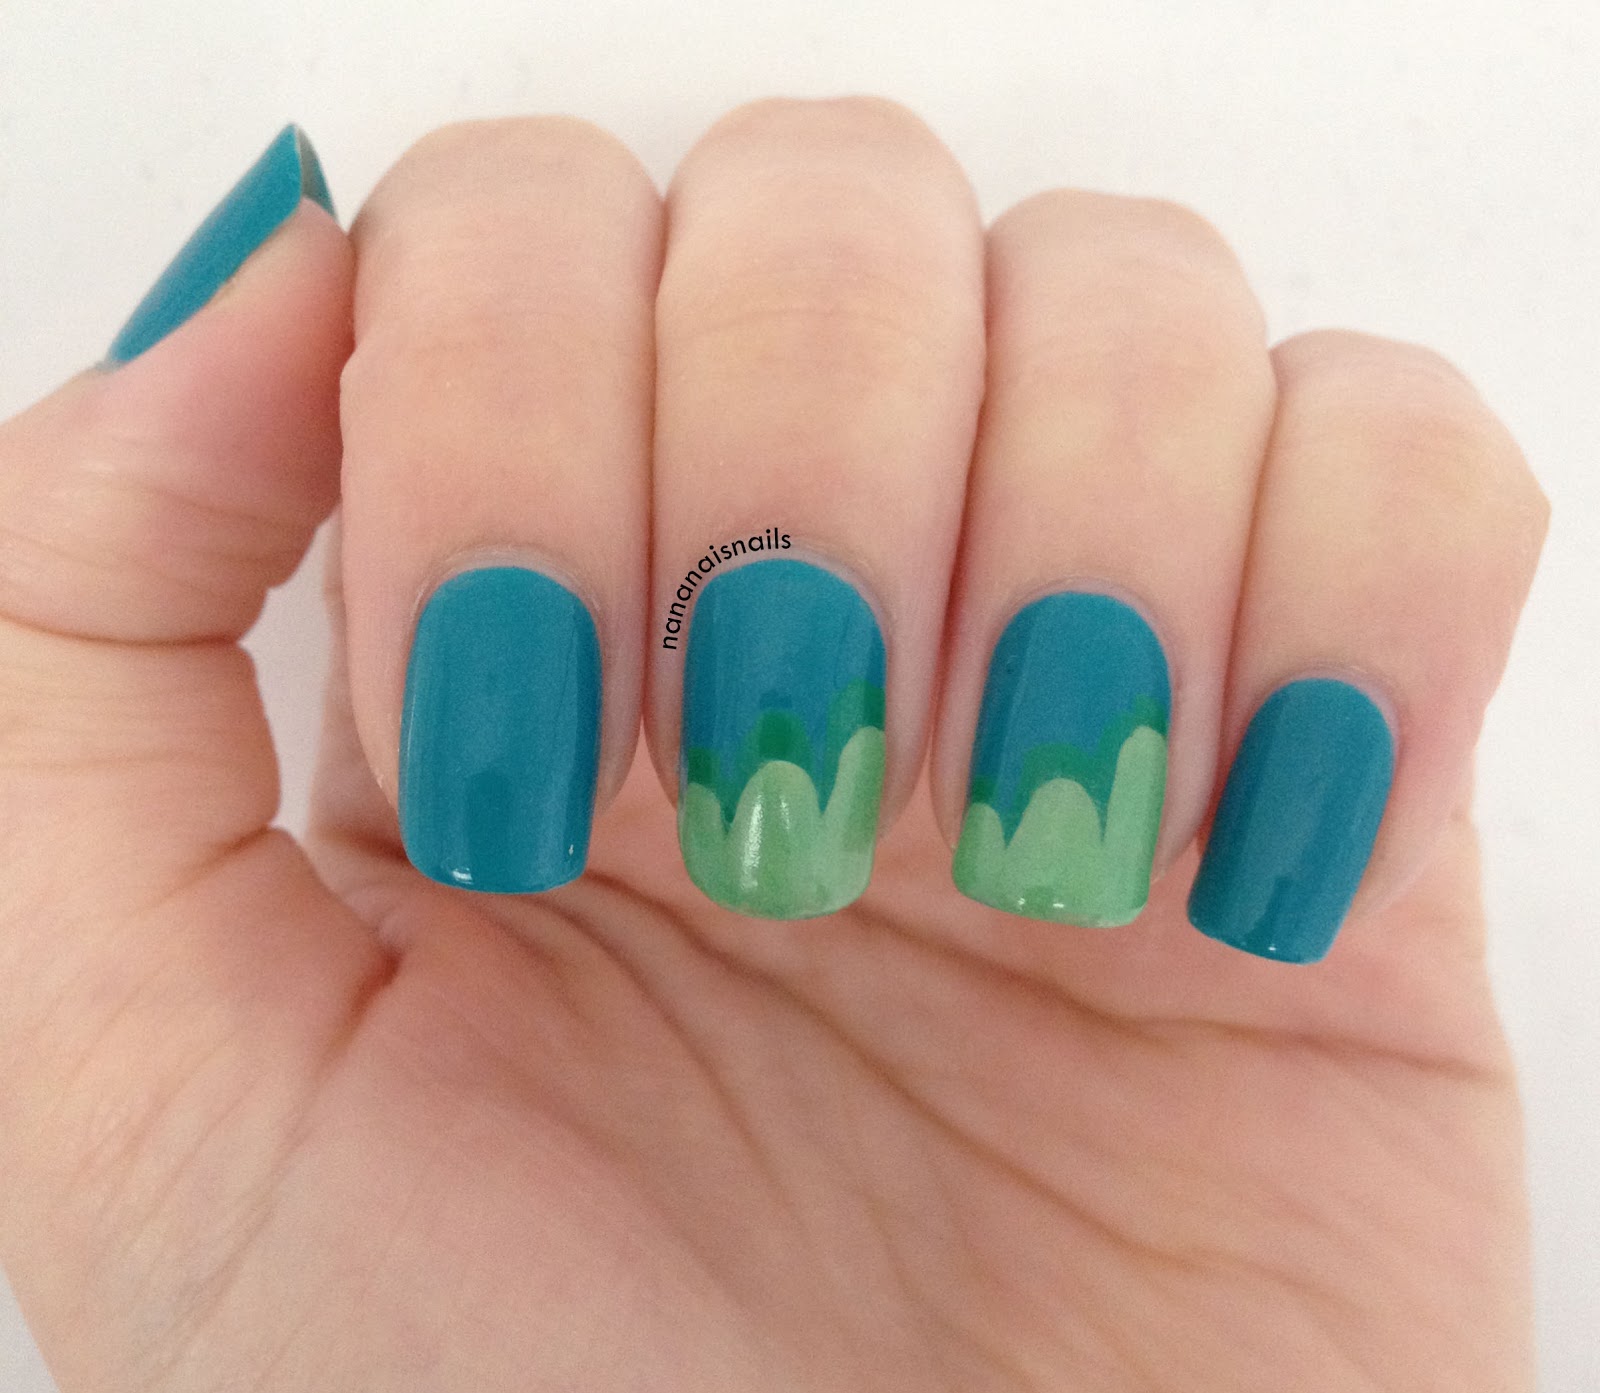
I had just received OPI 'Fly' and wanted to try it out. I love this blue, and think it works nicely with my skin tone, but didn't want to leave it too plain, and here we are!


The green at the tips is actually a glow in the dark polish, which sadly I couldn't get a decent image of, but had a lot of fun with in bed :)


What I used:
OPI 'Fly', and 'Zom-Body to Love' from the 2011 Halloween collex
An unnamed L.A. Colors green

Thanks for stopping by!
xNai


Wednesday, 27 February 2013

Argyle Dotticure

Hey guys!
As promised, here's the argyle dotticure tute. It's actually really very simple, and you can take this basic design and turn it into many different styles.

 What you'll need:
Two contrasting colours. Here I have Revlon 'Rock' and China Glaze 'For Audrey'.
Two different sized dotting tools


Paint your base coat and colour.

Using your large dotting tool, and place a column of dots down the centre of the nail.

On either side of the first column, place more dots, staggered from the first, as shown.

Using the smallest dotting tool, connect the large dots diagonally on one side, making sure to continue the little dots all the way to the edges of the nail.

Continue joining the large dots, and when done, top coat to seal in your design, and enjoy your super simple dotticure!


You can try matte top coats, glitter, and a myriad of other options!
Let me know how this goes for you, if you try it out.

xNai

Saturday, 2 February 2013

New and Improved Zebra

Hey there!
Today we have some simple black and silver designs with a holo twist for Ilana.

Had to leave the ring in the frame - so prettiful!

Just some basic graphic black stripes, with simplified accents.

Intentionally slightly blurred to show the holographic goodness

And the beauty of it shimmers in the sun! Can you see the holo on the middle finger? Subtle but gorgeous.

What I used:
Revlon 'Metallic'
Gloss 'n Sparkle Spectraflair top coat.
No name black striper

Thanks for stopping by!
xNai

Sunday, 9 December 2012

Laser Splotches

Hello!!
As promised, I have a tutorial for you here.

What you'll need:
At least 3 colours - they can be in the same family, as these are, or they can be highly contrasting,
it's just about your own taste
Black, White, base and top coats
Striping tape
Cosmetic sponge (stupidly not pictured...*facepalm*)
Clean up brushes, q-tips and acetone/remover


Paint your base coat, and then a coat (or two) of white.
I use white here, like I do everywhere, to really make the colours pop. You could use the lightest of your colours as a base colour (like in any gradient nails), but I like being able to blend the edges out nicely (keep reading to see what I mean).

Paint a corner of your sponge with the first colour you'd like to use...

...and dab it onto your nails in any random pattern, making sure to leave enough blank spots for your other colours.

Cut the corner off, and repeat steps 2&3 with the next colour.

Repeat step 4 with the next colour.

I didn't like that the pink covered so much of the purple at the bottom of the nail, so I went over it very lightly with the purple again to blend the edges together a little better.

Clean up the edges using the q-tips for larger areas on your skin, and a small brush for the area right next to the cuticle.

Leave your nails to dry completely (you can use a fast dry top coat here to speed the process, or like me, you can read a book for 10 mins), and then apply the striping tape in any way you like.
I prefer the randomness of the laser effect for a mani like this.

Next, one nail at a time, paint over the nail with your black (or any other one coater colour you'd like to use), and remembering the order in which you placed the tape initially, peel it off quickly but carefully.

You'll be left with this wonderful result, with patches of colour showing through.


Don't forget to top coat your design, to protect your work, and you're done!


This is what the finished effect of mine looked like.
I decided to do it just as an accent nail, mostly because I ran out of time, but also because I really love the ombré effects on the nails.


Please feel free to leave me a link to your attempt of this design, I would love to see them!

Hope this has been helpful,
xNai

Friday, 7 December 2012

Rorschach Fun

Hello there lovelies!

So today I have for you what I've been calling splotchy ombre stripes. Really awful name, I know, so please, if you can come up with something better, tell me!!

These I did for Orit, as she was going to Lady Gaga that night. The pink you can see is UV reactive polish, in case there were black lights, and I coated the whole thing in glow in the dark top coat, under the black, so the stripes would glow!

Orit loved them, and to show how rockin' she thought they were, she even did the following pose for my pics:

Then we went for coffee with some friends, and Ilana saw them, and decided she wanted them as well! Back to my house we went, and I did these on top of her purple shellac. I love Ilana's nails - such long beautiful nail beds! They make me so jealous...

What I used:
BYS 'Bright Purple N288', 'Blue N283' (both colour change polishes),
'02 UV Tension Rising' and their Glow in the Dark top coat.
OPI 'Black Onyx'


Lucky you, there's a tutorial for these babies!
I shall post it probably tomorrow, or the day after, sorry for the delay...:(

Hope you love these as much as I did!
xNai

Sunday, 2 December 2012

Patchwork Hearts

It's tutorial time!

Today's tute is brought you you by awesomeness and love.

What you'll need: 
Two shades of one colour (I have two blues)
A highly contrasting colour (my white)
Multiple sized dotting tools
A paintbrush/striper in the same colour as your contrasting colour (white)


Start by painting your base coat and the lighter shade of colour.
I have used essence 'you belong to me'

Next use the larger dotting tool (I used the back of a paintbrush) and place 2 dots right next to each other, as shown. Work out which direction you want the heart to go before placing the dots.
You want to not place the dots too close to each other, as these form the 'bum' of the heart, so there needs to be some decent curviness to it. (hehehe...bum...curviness...that's right, I have a gutter brain. Leave me alone! ;))

Repeat this with the medium dotting tool as well, so you have varied heart sizes.

Using the paintbrush/striper, create the point of the hearts, and join them all up.
I did this by placing a dot where I wanted the point to be, and then drew the lines to meet the edges of the dots, and filled in the space.

After the hearts are complete, using the smallest dotting tool (I used a toothpick), place some very small dots around the hearts, filling in the empty space.

Take the darker shade (essence 'walk on air') and very carefully outline the largest heart. It doesn't ned to be perfect, but try to keep it fairly thin.


Using the dark shade again, make little stripes across the outline, to create the stitches effect, as shown.


Top coat to protect your design, and voila!
Adorable patchwork hearts.


Please feel free to leave me a link to your attempt at this design, I would love to see it!

Hope this has been helpful!
xNai

Friday, 23 November 2012

Strippy Strappy Stripes

Hello there again lovelies.

Firstly, I just want to apologise for my absence recently. I had a lot of work I needed to do, and have finally finished! 
Thank you for sticking around, it really means so much.
Now I'm preparing for my summer holidays, gotta pack and sort my stuff out, etc. Super excited! But this also means that I'll be posting less in general. I'm gonna schedule a bunch of posts for while I'm away, but probably not as many as usual, cos who can be bothered sitting at the comp for HOURS editing and composing?! I'll do my best though.

Anywho, today I have for you a really arduous technique, but it looks so lovely when complete.

This is step one - horizontal gradients across all the nails. It goes pink-red-purple-blue-green-pink. 

I wanted to use yellow on the end there, but this was another entry into the 5 colour comp. I rather like the ring and pinky in the end anyway - the combo of lime and pink almost looks like a sunset.

After the difficulty of ombreing that much, we then had to clean up, and proceed onto the next step.
That's right - this isn't even the whole shebang!


 Ta daaa!!

I am SUCH a fan of these. I love how subdued they are (which suits Nicole to a T), while still being poppingly bright.


I wish I could tell you the colours I used, but alas, my memory fails me..:(
I know I used some essence, and the black is OPI Black Onyx, but beyond that, sorry!
Also, the striping tape is the same I've used previously - little rolls off ebay, super cheap.

Hope you enjoy these as much as I did making them.
Thanks for stopping by,
xNai

Saturday, 10 November 2012

Not the Sistine Chapel

Hello darling hearts.
Firstly, apologies for the single picture posts! Like I said, crappy photography leads to pics I do not need the world seeing! :/

Anyway, here we have some stained glass effect nails. I love the eye-watering brightness of these, and Danya's students absolutely loved them as well.

The tricky thing with these was making sure we didn't repeat patterns - you'll notice that each nail has a different colour placement. No colour is repeated in the same block.
Silly me didn't plan that out first, and thought logic would prevail. Then halfway through, we freaked, thinking I had messed up! Never fear, we clearly worked it out...eventually.


When I posted these on my Instagram (I'm @nadeekay, if you're wondering), one girl mentioned that they look a little Britto-esque, and after doing a quick google search, I had to agree. Though not quite full Britto, they have a whiff of the Britts about them..

What I used:
Revlon 'Cherries in the Snow', 'Siren'
OPI 'A Grape Fit'
Rimmel 'Sky High'
Sally Hansen 'Mellow Yellow'
No name black striper I bought off eBay.


Stick around for a tute for this design.


Thanks for stopping by,
xNai

Thursday, 8 November 2012

Taste the Rainbow

Hello Lovelies!
Today I have for you a rainbowesque skittle mani that I entered into 2 different competitions. One was Angela's 5 colours, and the other was Felicia's (@feliifel on IG) pattern contest.

I did these all based around that ring finger, which was inspired by Chalkboard Nails' Ruffle mani.


I really site liked this one, each nail individual and still part of a whole cohesive theme.
Thoughts?

Thanks for stopping by,
xNai